Wikimedi'Òc
Modes d'emploi

Cet album fait partie des albums
Cet album photos contient les sous-albums suivants :


TanigamiStation.JPG - Rsa

Hankyu-railway-Shukugawa-station-building.jpg - LERK

JRWest-Sakura-Shukugawa-station-building.jpg - LERK

Himeji Station 0119 01.jpg - Corpse Reviver

Himeji Station 0119 04.jpg - Corpse Reviver

Chuo-Ichibamae Station exit 1.jpg - PekePON

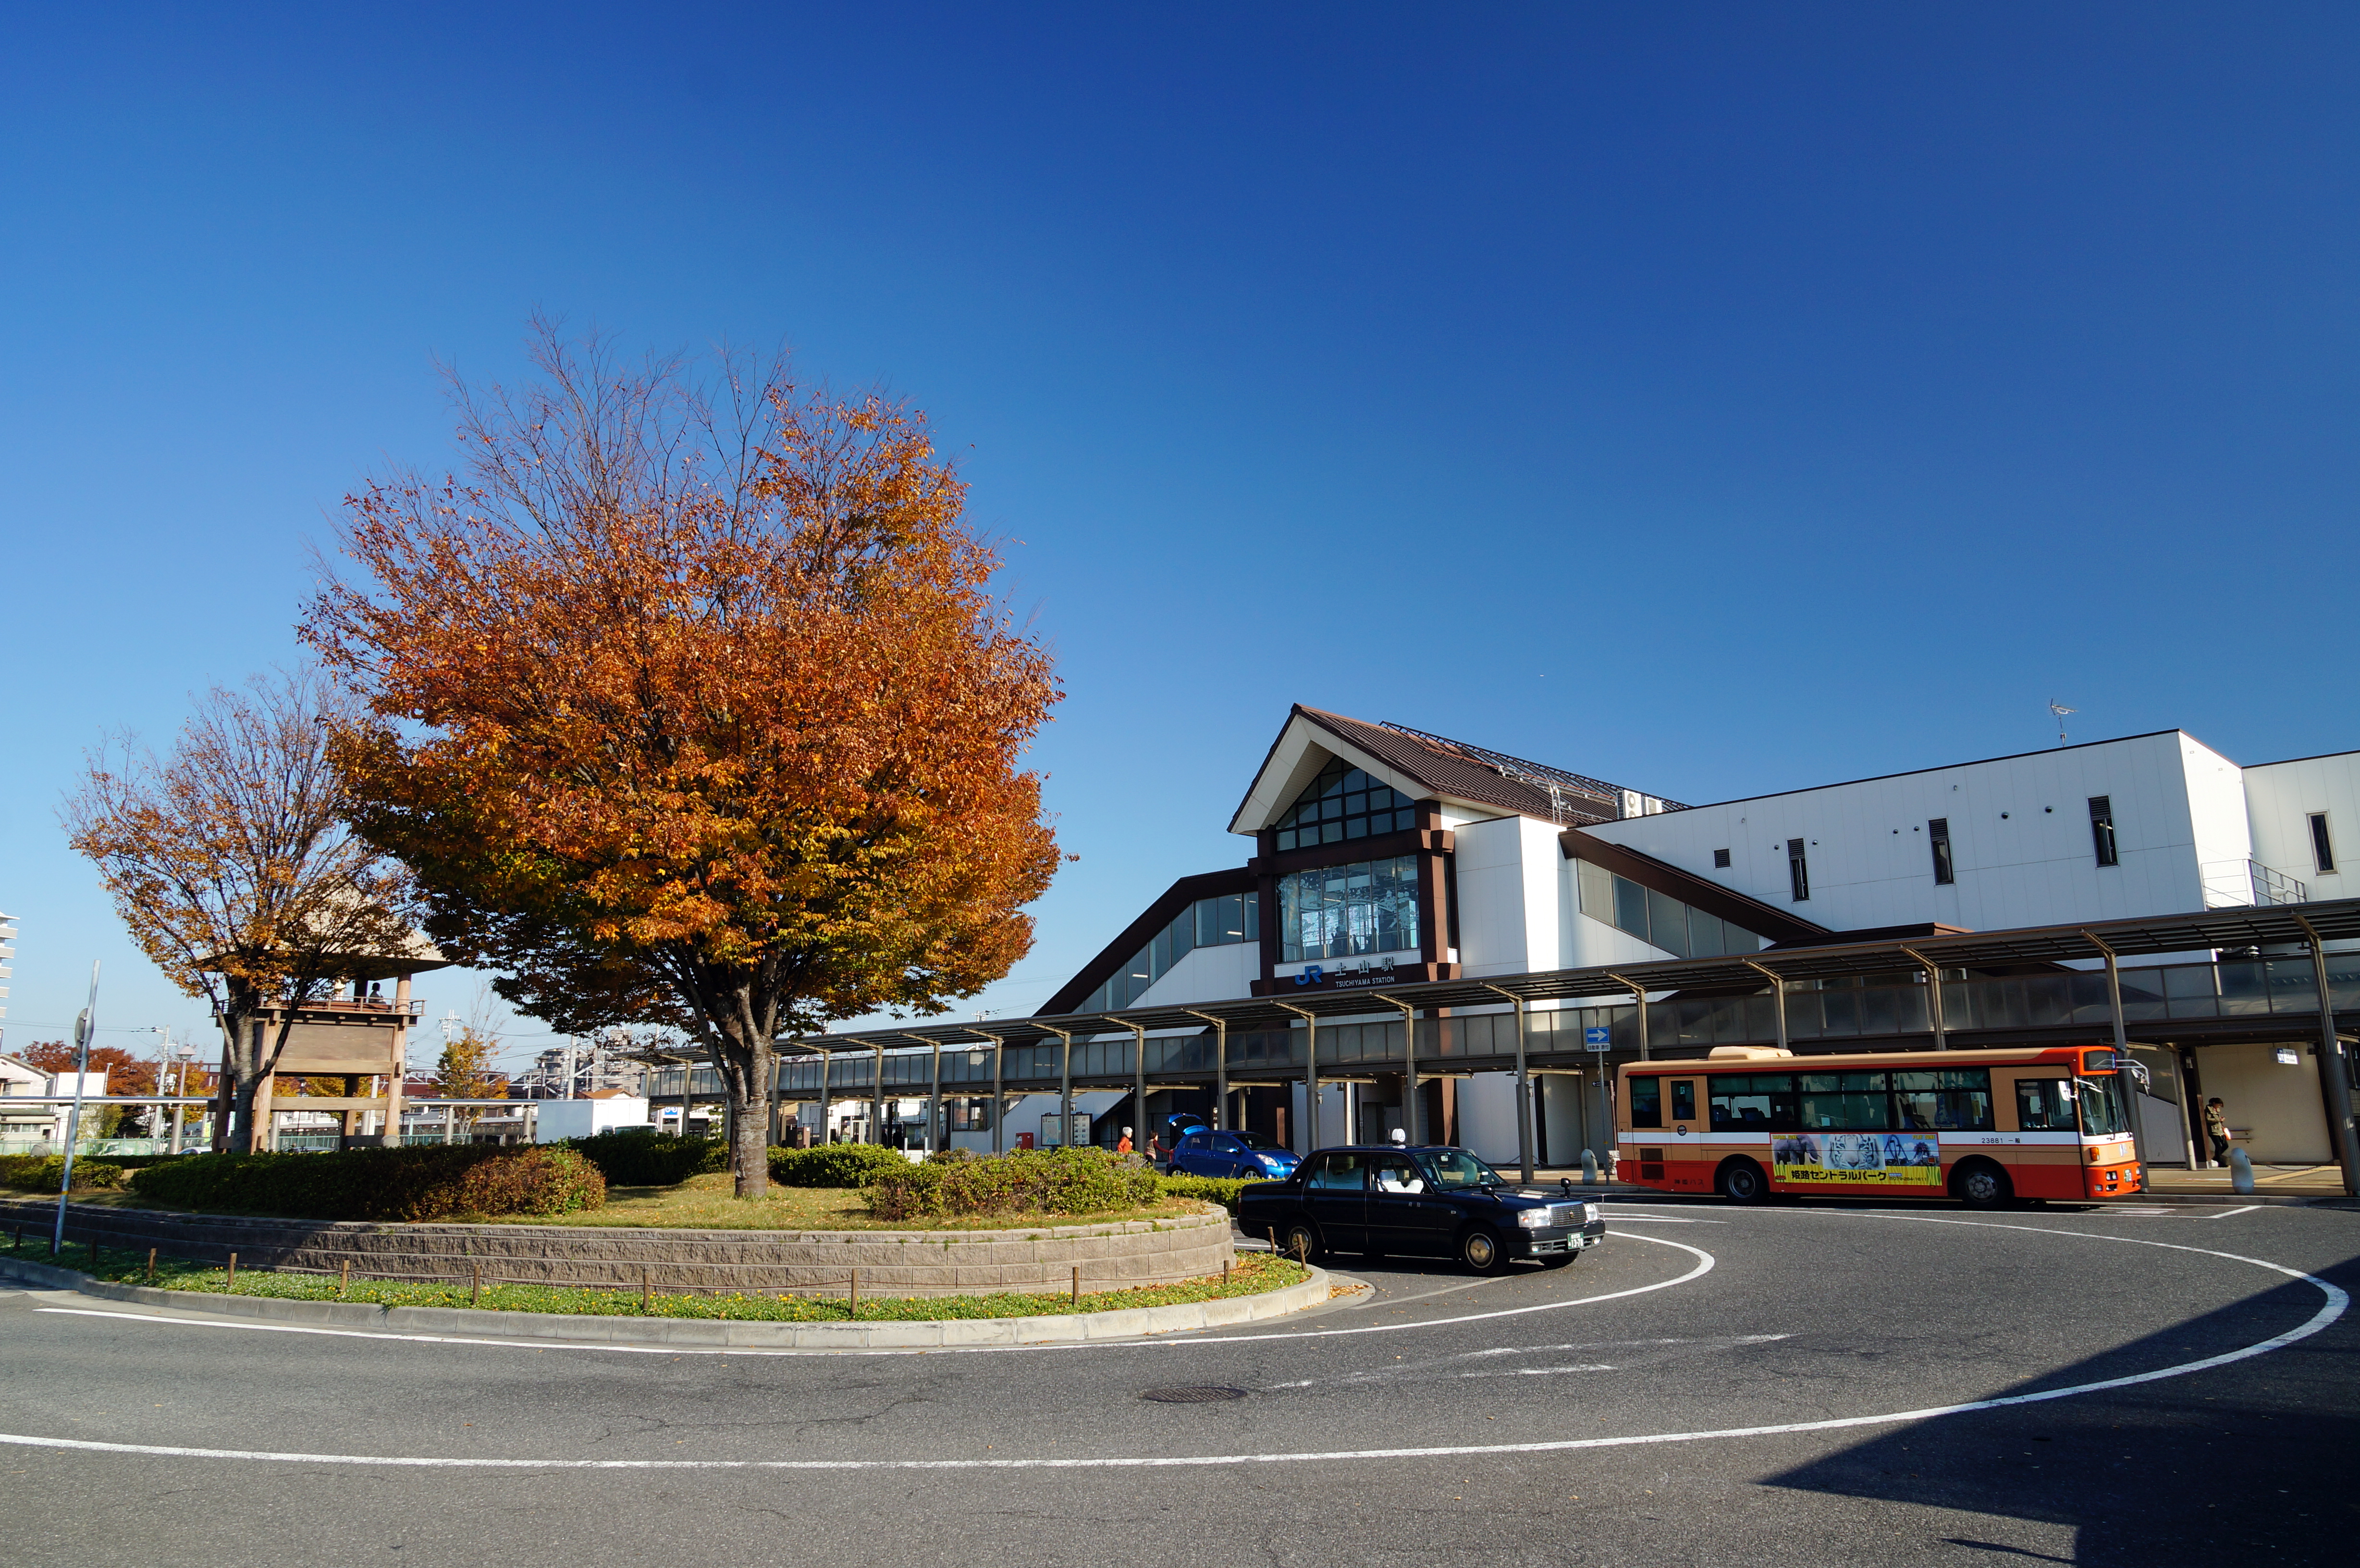
131123 JR Tsuchiyama Station Harima Hyogo pref Japan01s3.jpg - 663highland
131123 JR Tsuchiyama Station Harima Hyogo pref Japan02s3.jpg - 663highland

131123 JR Tsuchiyama Station Harima Hyogo pref Japan03s3.jpg - 663highland
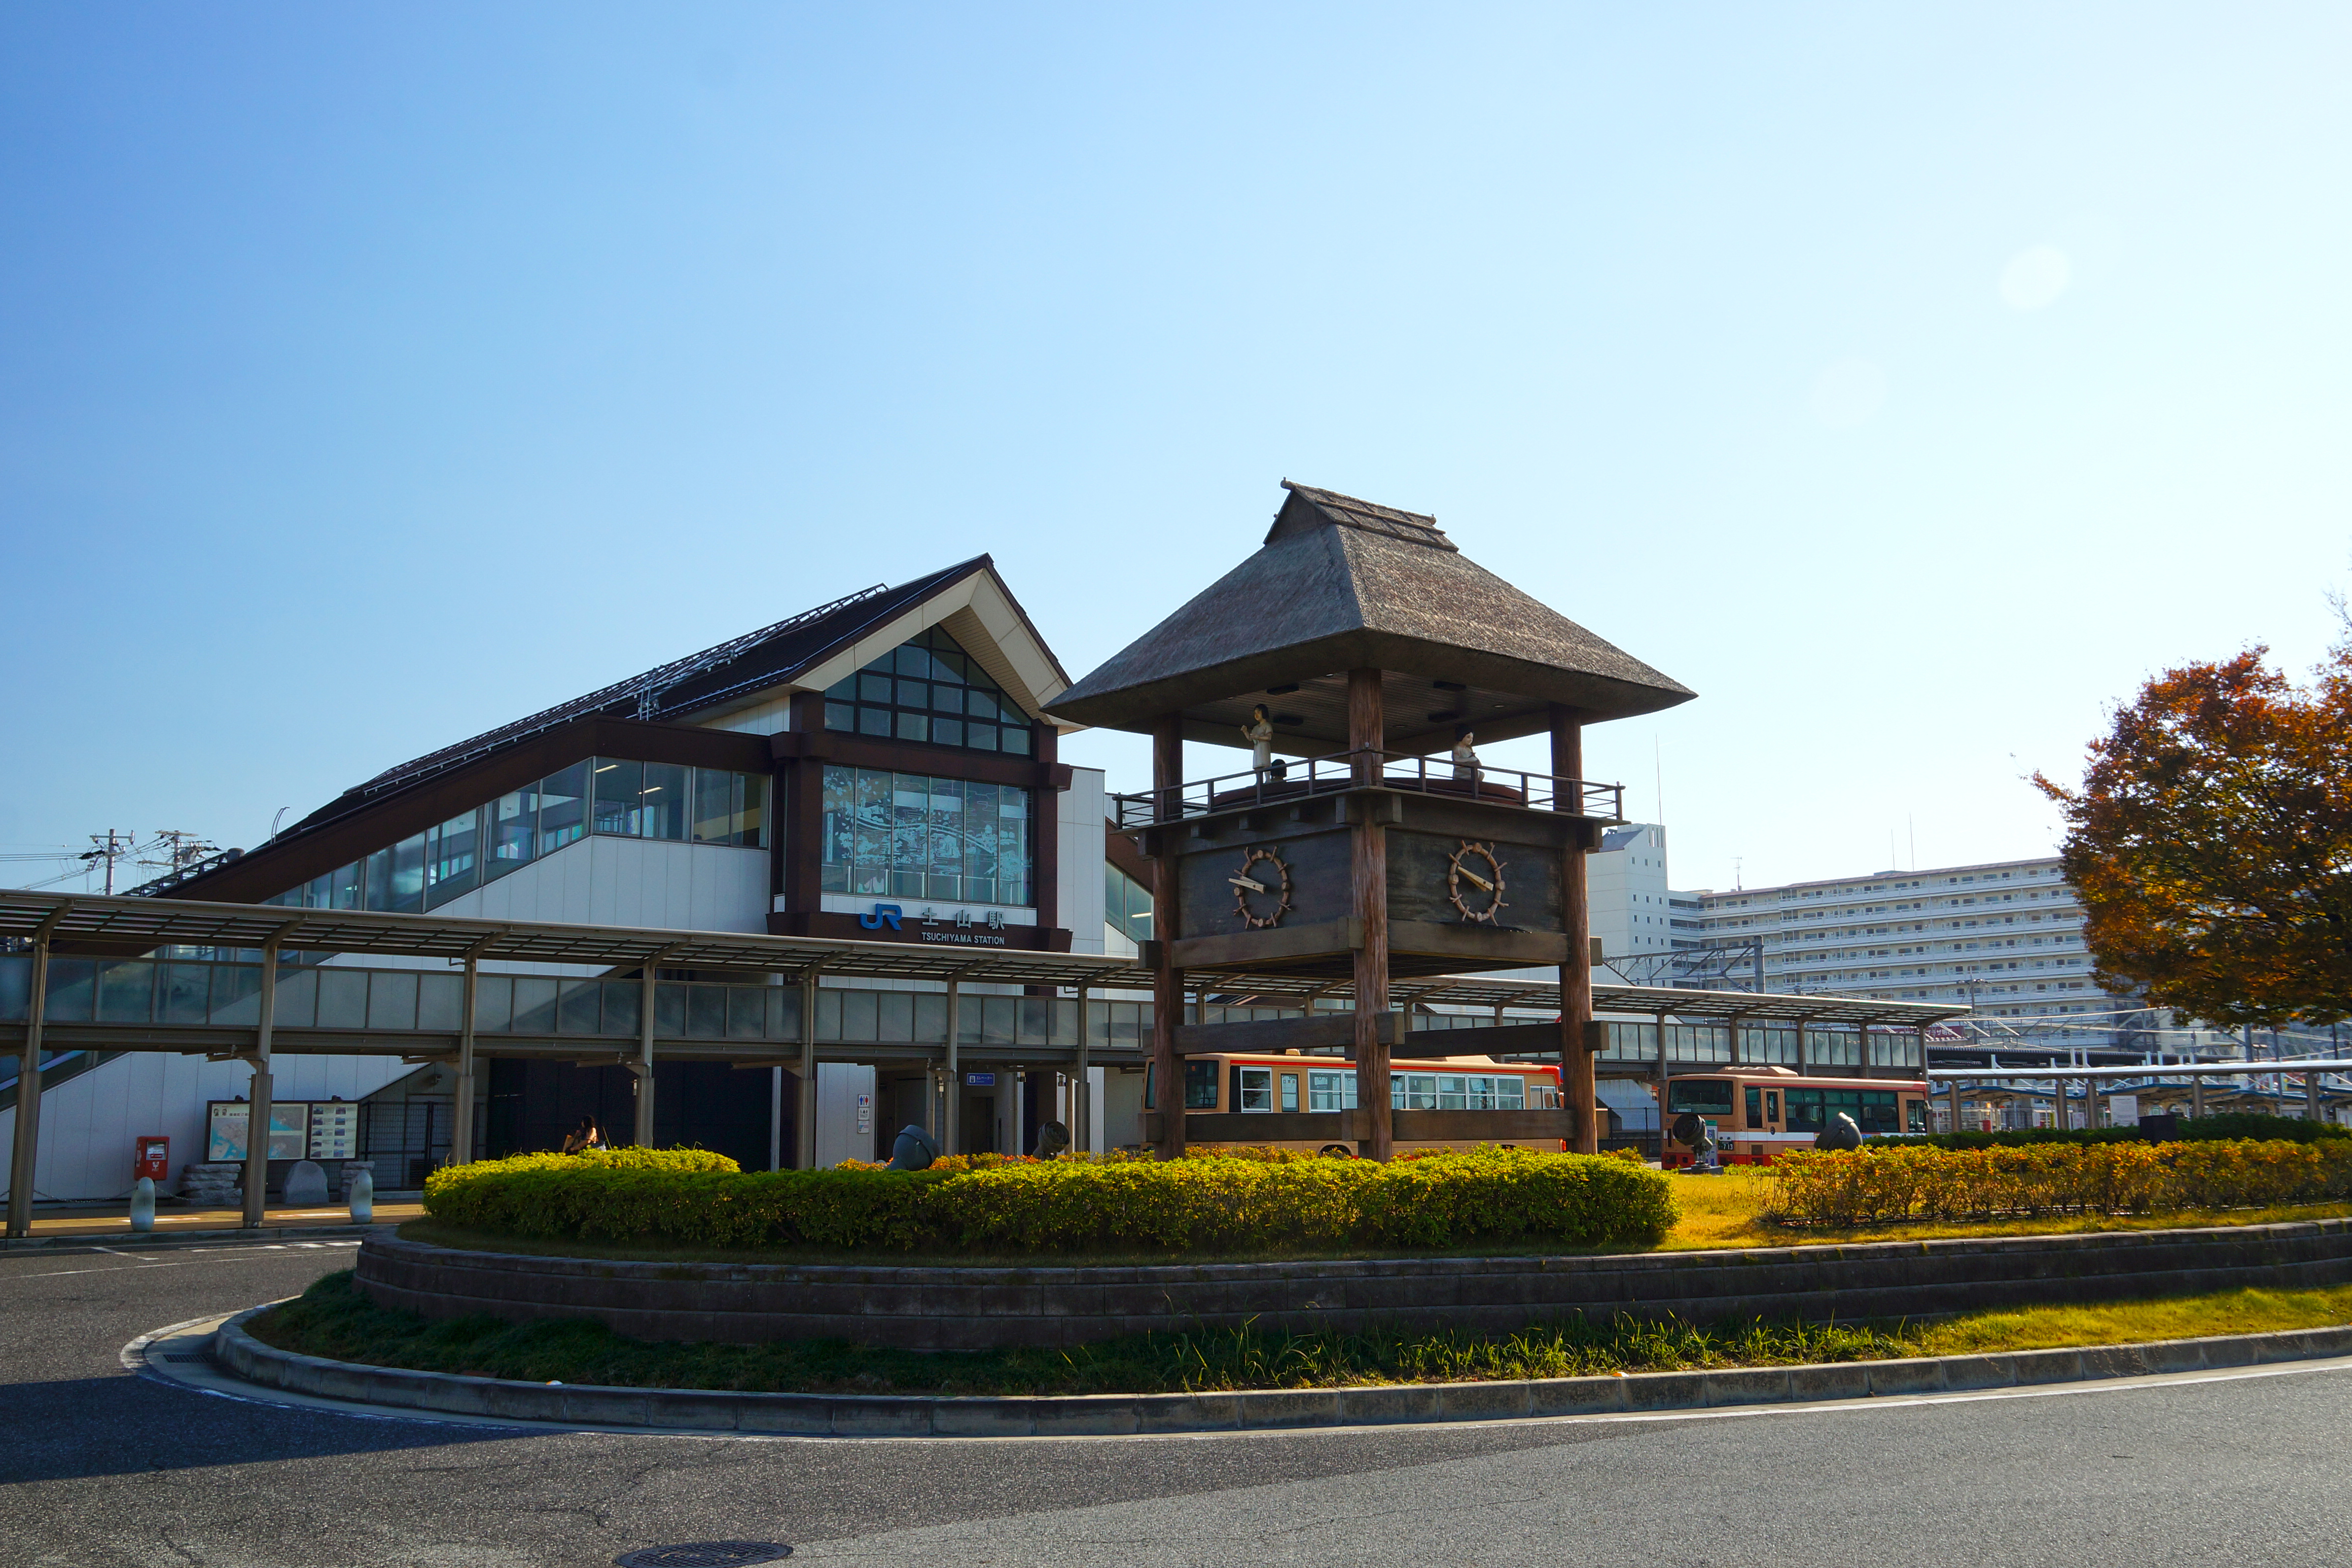
131123 JR Tsuchiyama Station Harima Hyogo pref Japan05s3.jpg - 663highland

151017 Sogoundo-koen Station Kobe Japan01n.jpg - 663highland

Himeji-sta east gate 201508.JPG - OgreBot

Sanyo Himeji sta 201508.jpg - OgreBot

Ebara Station 19890325.jpg - Suikotei

能勢電鉄 妙見ケーブル-01.jpg - Gohachiyasu1214

能勢電鉄 妙見ケーブル-04.jpg - Gohachiyasu1214

Shintetsu Hiyodorigoe Station.jpg - KishujiRapid

Shintetsu Suzurandai-nishiguchi Station.jpg - KishujiRapid

谷上駅(神戸市営地下鉄譲渡後 2021年3月).jpg - Yutaaka0804
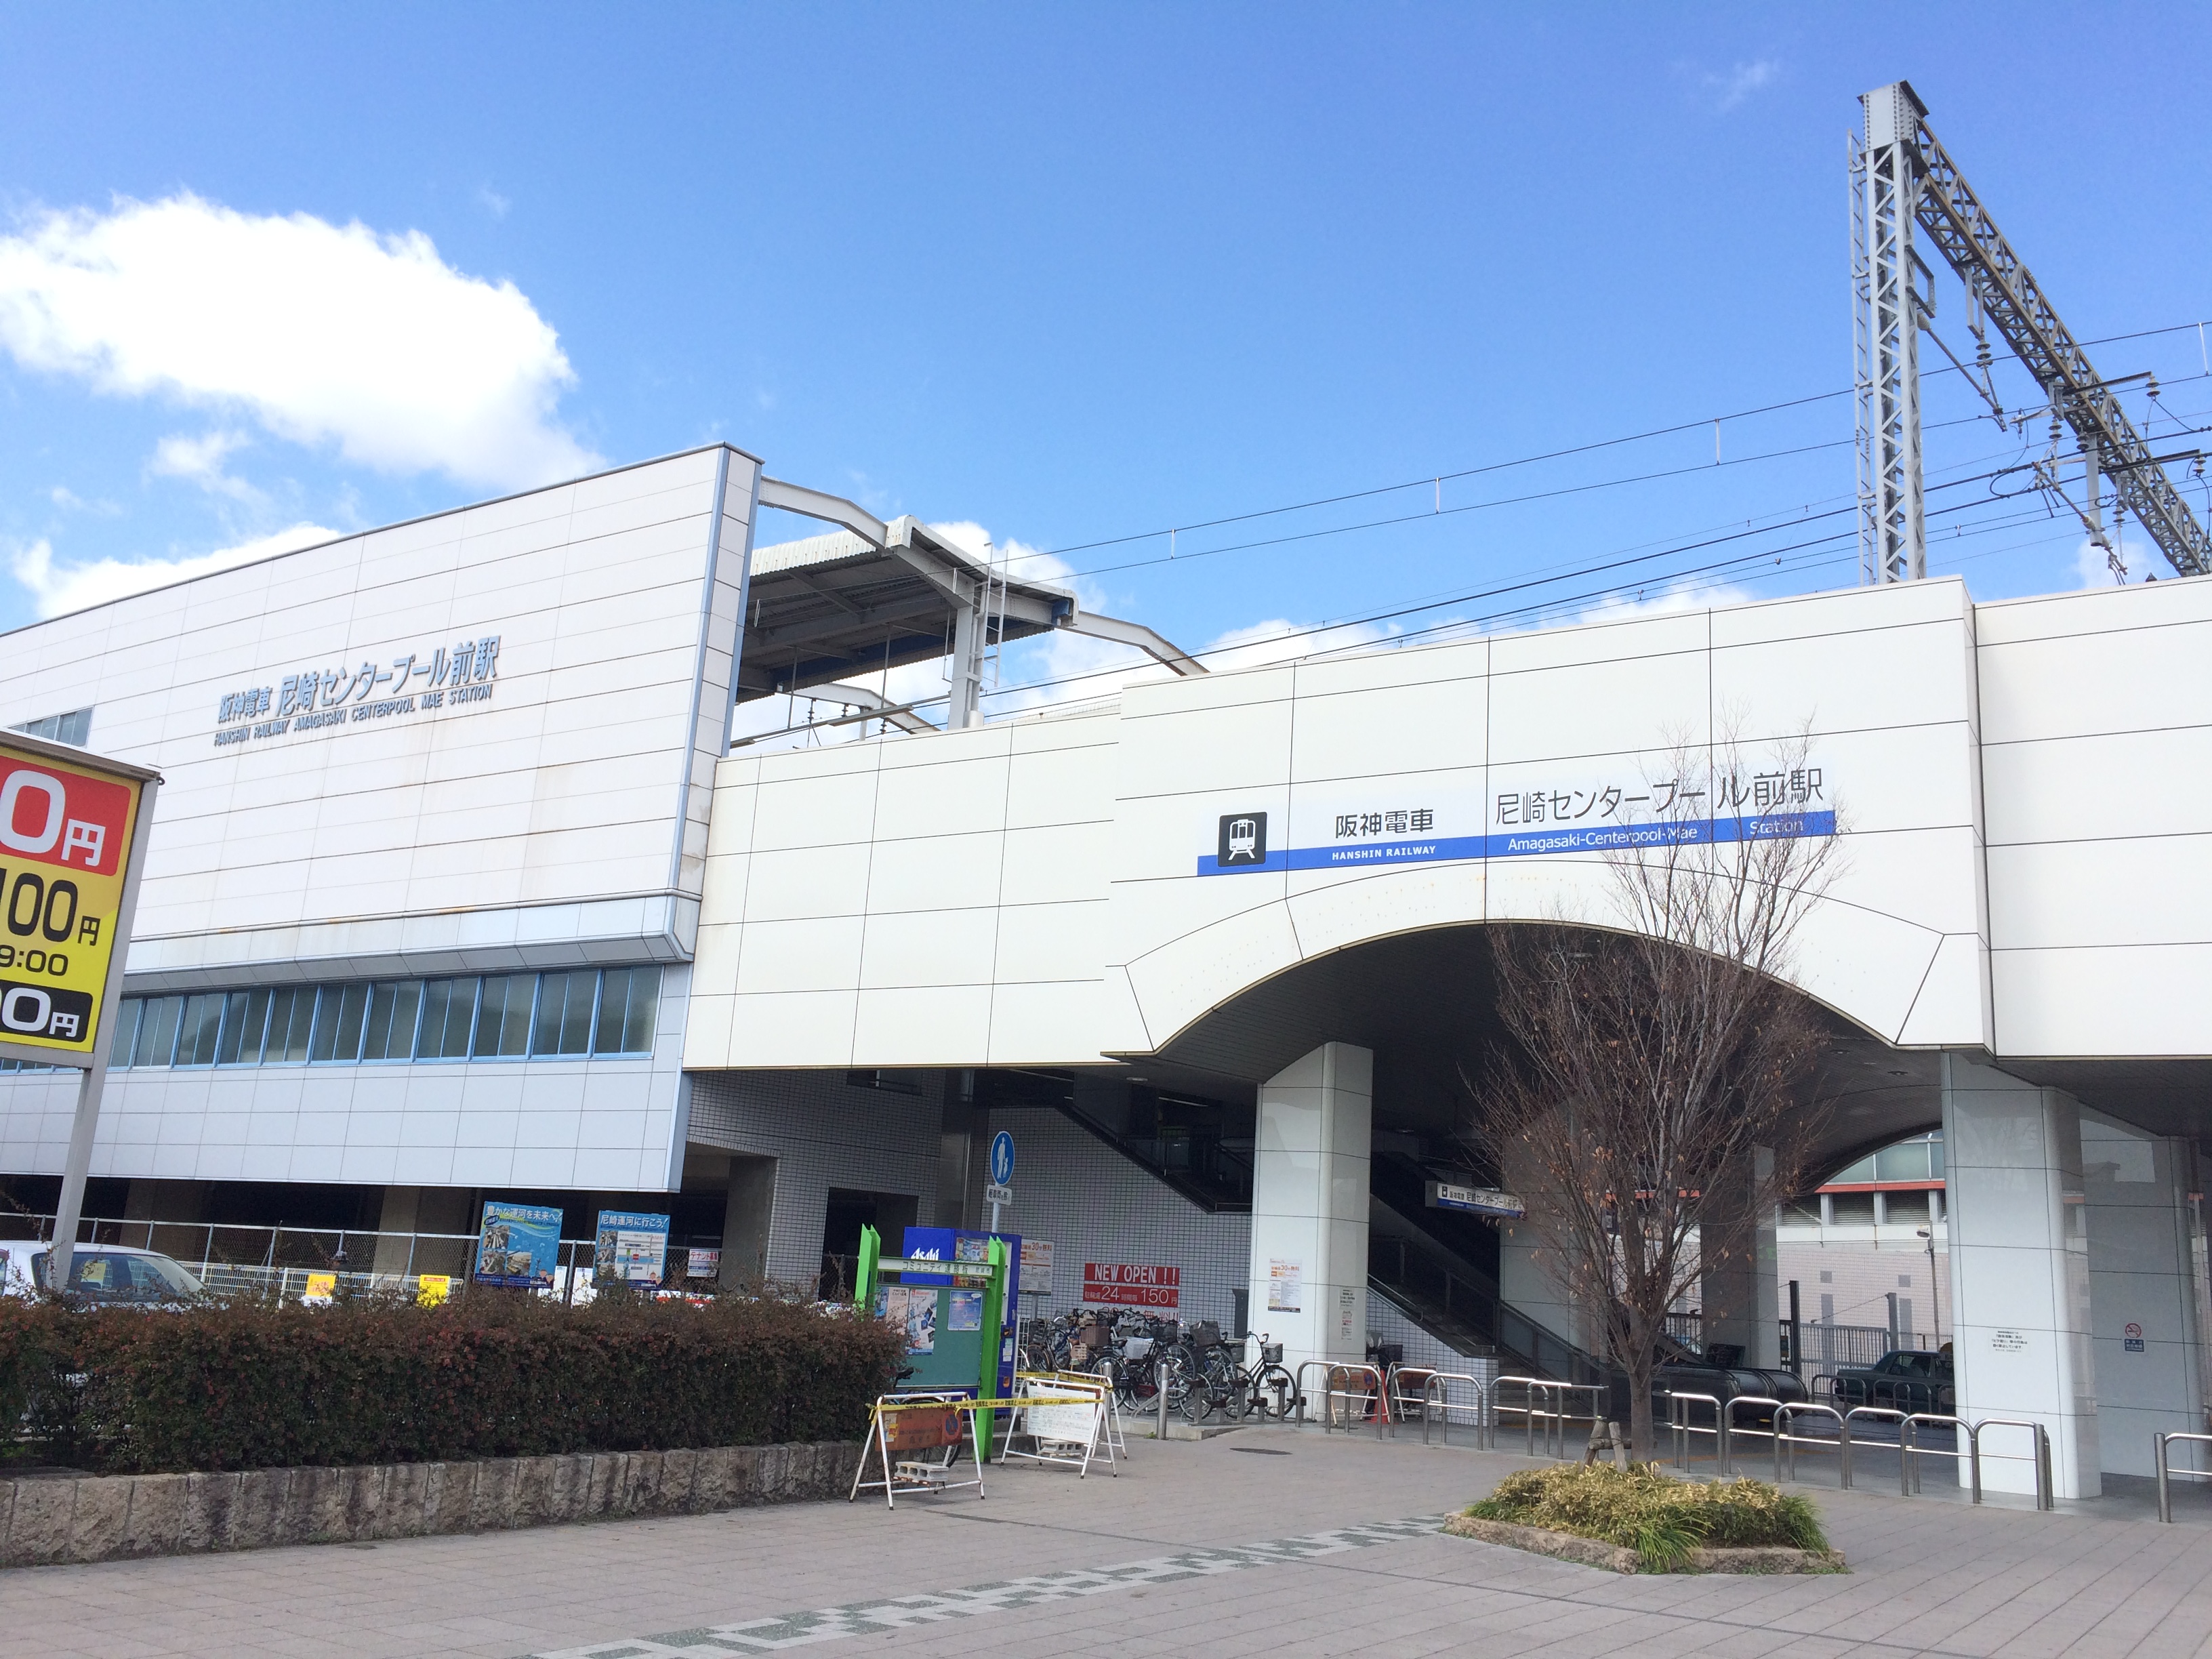
Amagasaki-Centerpool-Mae 2017.03.17.JPG - 筑紫太郎

Wdm.JPG - 有吉俊憲

Tanigami Station exterior 20210903173443.jpg - Adeletron 3030

Tanigami Station exterior 20210903173443 (cropped).jpg - Adeletron 3030
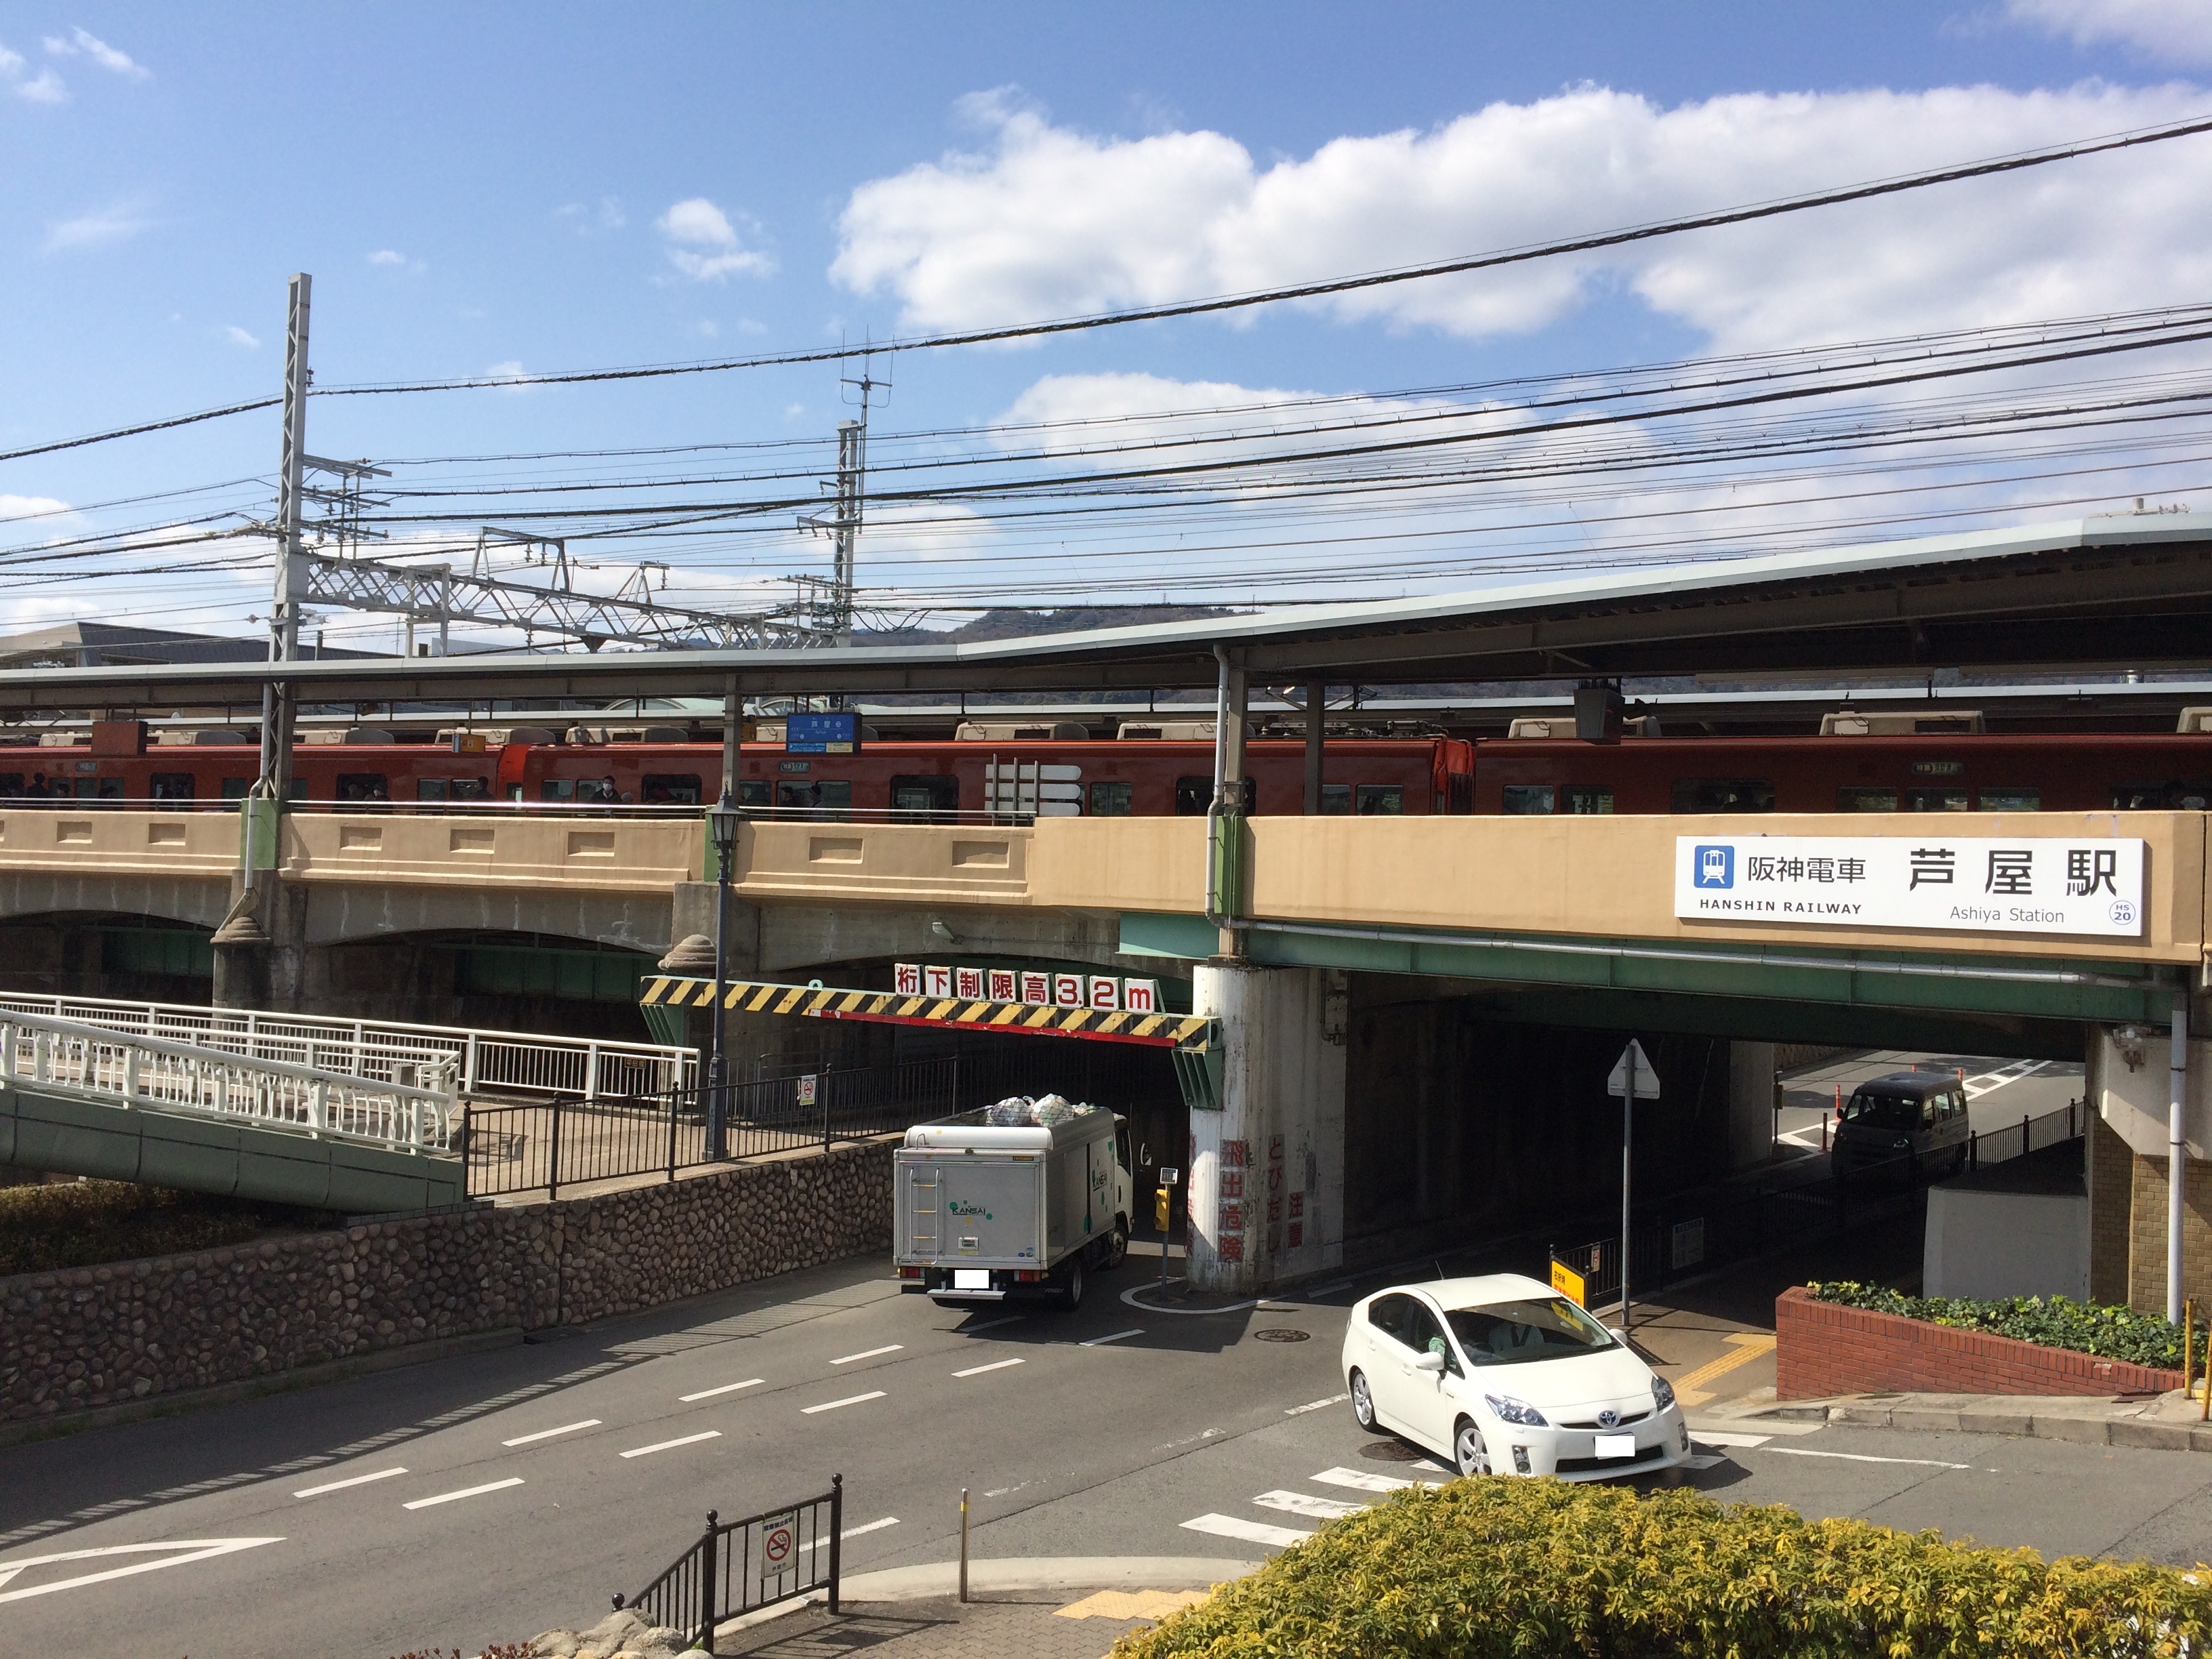
Hanshin-ashiya-sta 20170324.JPG - 筑紫太郎

Hanshin-ashiya-sta-east 20170324.jpg - 筑紫太郎

Uchide-sta-1 20170324.JPG - 筑紫太郎

Uchide-sta-2 20170324.JPG - 筑紫太郎
Naruo-Provisionalsta 2017.3.17.JPG - 筑紫太郎
Hanshin-imazu-sta 20170324.JPG - 筑紫太郎

Imazu-sta 20170324.JPG - 筑紫太郎

Mukogawa-sta 2017.3.17.jpg - 筑紫太郎

Mukogawa-sta 2017.3.23.JPG - 筑紫太郎

Deyashiki-sta 2017.03.17.JPG - 筑紫太郎

Wadayama sta Hyogo,JAPAN.jpg - Si-take.
JR香呂駅 2022July.jpg - WTKMOV

Wadamisaki sta.jpg - CIT16

Kobe-electric-railway-KB10-Tanigami-station-building-20231001-115519.jpg - LERK

Kobe-subway-K05-Chuoichibamae-station-entrance-1-20231001-081943.jpg - LERK

Kobe-subway-K05-Chuoichibamae-station-entrance-2-20231001-082347.jpg - LERK
Kobe-subway-K06-Wadamisaki-station-entrance-3-20231001-084303.jpg - LERK

Kobe-subway-K06-Wadamisaki-station-entrance-2-20231001-084505.jpg - LERK

Kobe-subway-K06-Wadamisaki-station-entrance-1-20231001-084655.jpg - LERK

Kobe-subway-K07-Misakikoen-station-platform-entrance-1-20231001-085831.jpg - LERK

Kobe-subway-K07-Misakikoen-station-platform-entrance-3-20231001-090110.jpg - LERK

Kobe-subway-K07-Misakikoen-station-platform-entrance-2-20231001-090235.jpg - LERK
Kobe-subway-K08-Karumo-station-entrance-2-20231001-091835.jpg - LERK

Kobe-subway-K08-Karumo-station-entrance-1-20231001-092118.jpg - LERK

Kobe-subway-K09-Komagabayashi-station-entrance-2-20231001-093935.jpg - LERK

Kobe-subway-S09-K10-Shinnagata-station-entrance-2-20231001-100033.jpg - LERK

Kobe-subway-S09-K10-Shinnagata-station-entrance-3-20231001-100158.jpg - LERK

Kobe-subway-S08-Nagata-station-entrance-east2-20231001-103836.jpg - LERK

Kobe-subway-S07-Kamisawa-station-entrance-east2-20231001-105313.jpg - LERK

Kobe-subway-S04-Kenchomae-station-entrance-east2-20231001-142328.jpg - LERK

Kobe-subway-S04-Kenchomae-station-entrance-west2-20231001-142647.jpg - LERK

Kobe-subway-S11-Myohoji-station-building-20231001-145056.jpg - LERK

Kobe-subway-S13-Sogoundo-koen-station-building-south-20231001-150310.jpg - LERK
Images from The Great Hanshin-Awaji Earthquake-b047.jpg - LERK

A79reiwa1.jpg - ライム読み頭冷やしてこい氷枕

A79reiwa4.jpg - ライム読み頭冷やしてこい氷枕

A79reiwa3.jpg - ライム読み頭冷やしてこい氷枕

A79reiwa2.jpg - ライム読み頭冷やしてこい氷枕

A79reiwa6.jpg - ライム読み頭冷やしてこい氷枕

A79reiwa5.jpg - ライム読み頭冷やしてこい氷枕

A79reiwa7.jpg - ライム読み頭冷やしてこい氷枕

A79reiwa8.jpg - ライム読み頭冷やしてこい氷枕

A79reiwa10.jpg - ライム読み頭冷やしてこい氷枕

A79reiwa9.jpg - ライム読み頭冷やしてこい氷枕

A79reiwa11.jpg - ライム読み頭冷やしてこい氷枕

A79reiwa12.jpg - ライム読み頭冷やしてこい氷枕